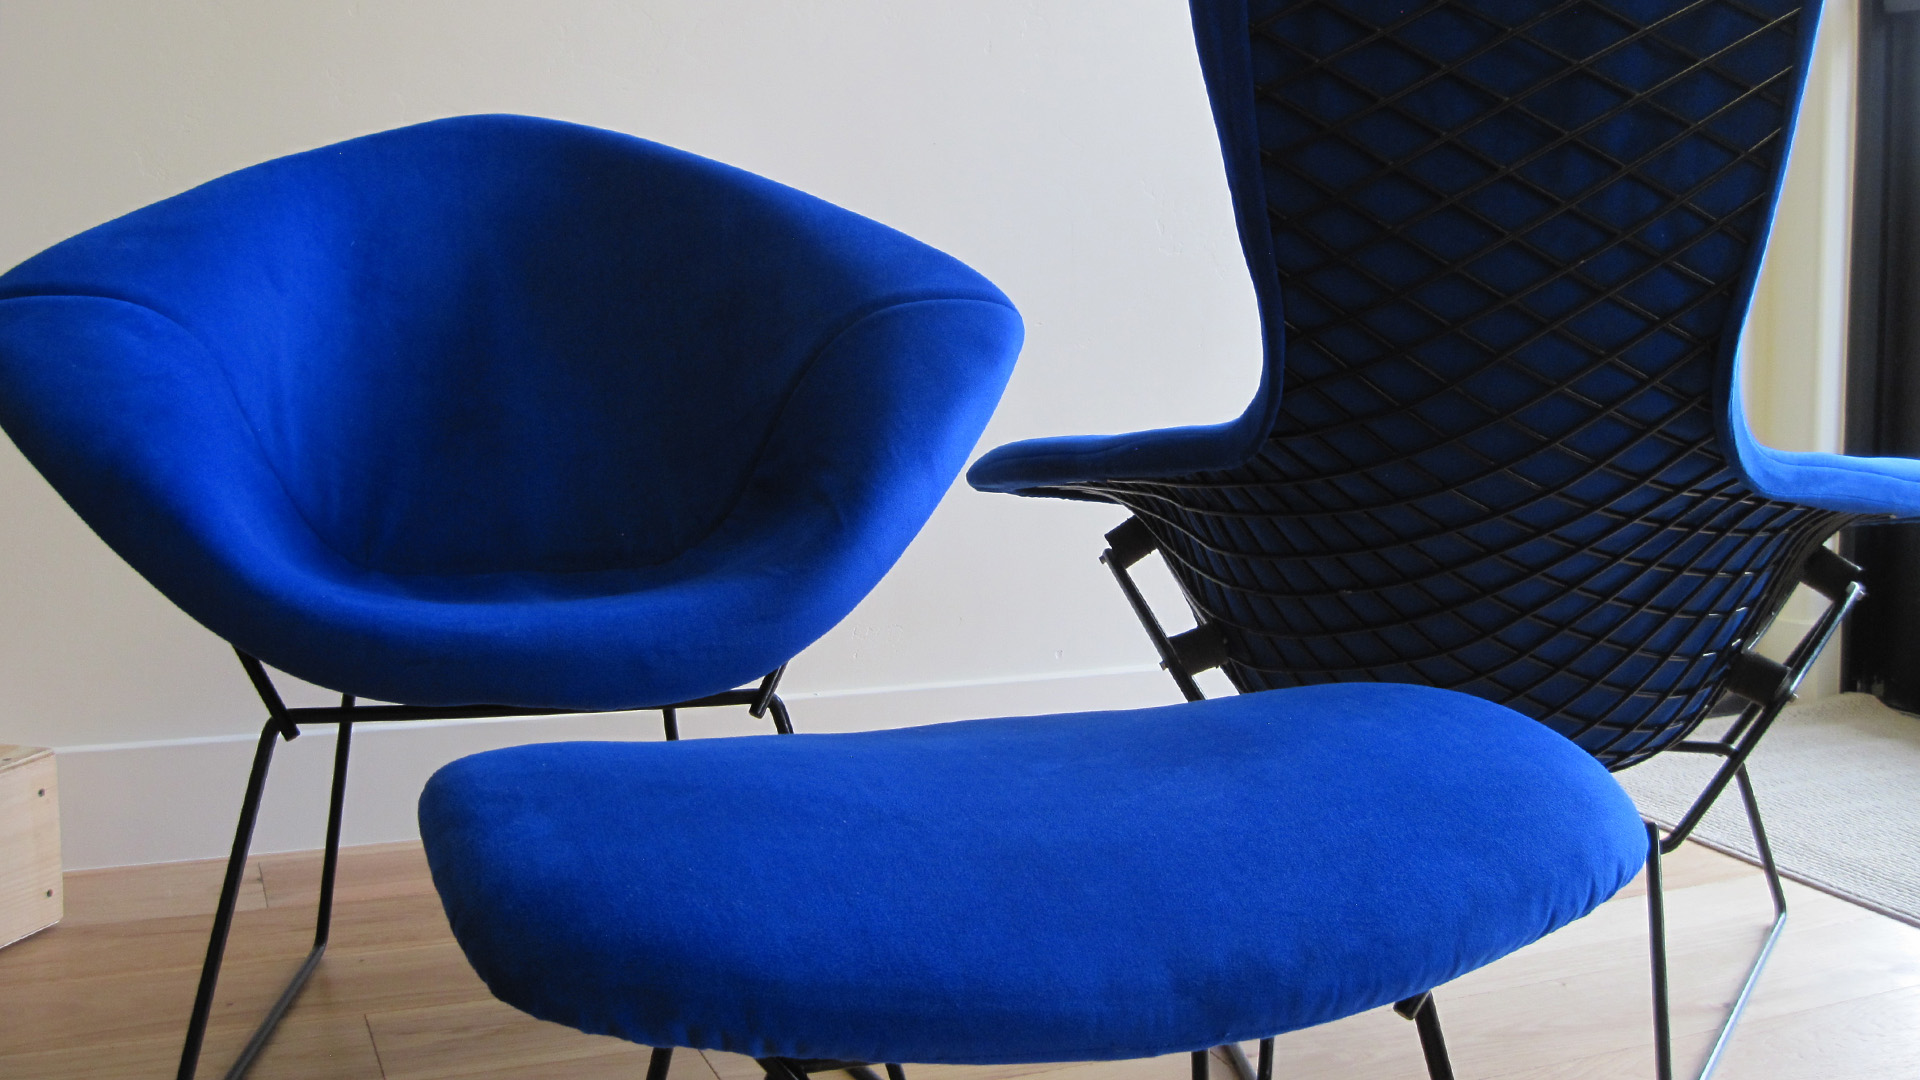
Notes on Repairing and Restoring Knoll Bertoia Chairs
PRELIMINARY INSPECTION
Any household product in service for up to sixty years is going to show signs of wear and tear and that includes the robust steel wire Bertoia chairs that have been in continuous production worldwide since the first customer order shipments in 1953. If upholstered, the cushions fade, wear and generally look sad over time. Cosmetically, the basket and base can fade, chalk, chip or rust and structurally, wires can break and welds fail. So the first step is to assess the damage which will determine what corrective action(s) should be taken. This could entail anything from minor touch-up to a major project.
UPHOLSTERY
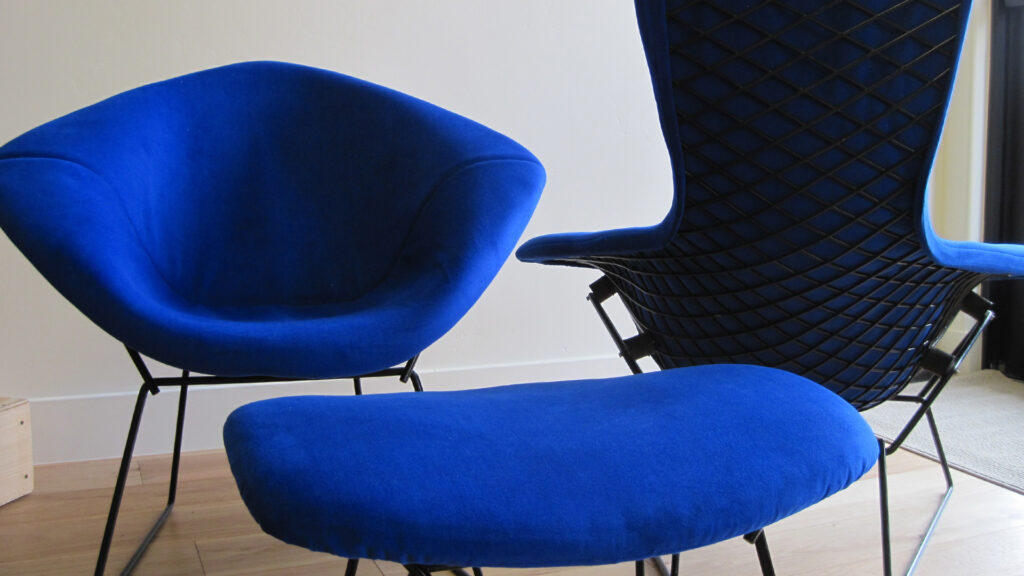
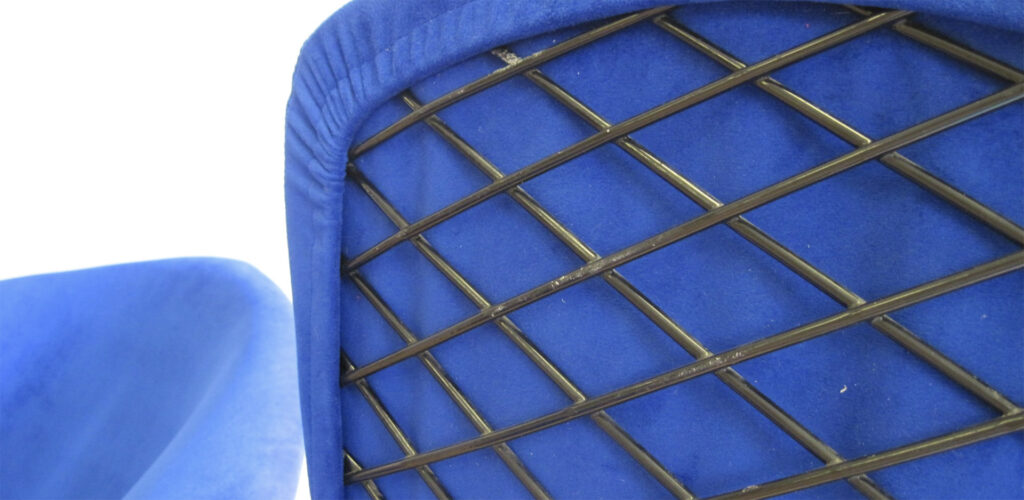
This is the easy one. Different upholstery options were offered at any given time – typically: no upholstery, a simple seat pad, two-piece seat and back pads and fully upholstered. Also different fabrics and upholstery details have been offered over the years. But, the good news is that replacement upholstery cushions are very much available directly from Knoll and lower priced knock-off replacements are available online. Knock-off quality varies so be careful… you get what you pay for. Note from Celia: I’ve had local upholstery shops do a very good job on full upholstery with cost dependent on fabric; talk to your local shops. A Diamond, Bird and Ottoman total came to $500 here in St George, Utah.
FINISH
During its production history, the finish has changed many times and perhaps the most difficult task in refurbishing the finish is determining what the finish is! Many have been used over the years and the ‘technical descriptions’ in the price lists can be vague, confusing or downright wrong.
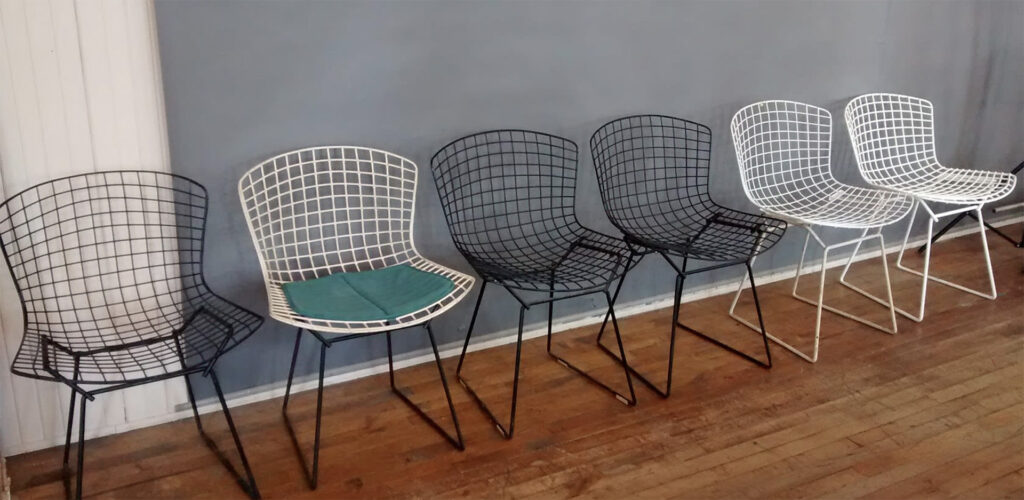
Early chairs made from 1953 – 1976 were only available in black, white and chrome or black and white two-tone (chrome was added in 1956). The black was a simple black oxide finish and was used through the mid ‘60s (this is the same finish used for black nuts and bolts found in the hardware store). This proved to not be a very durable finish and prone to rust so later ones were also dipped in cosmolene and wiped off. In the early ‘70s the catalog description was changed to ‘black epoxy’ which I presume was powder-coated.
White – White was described in a head-spinning number of ways from white vinyl, lacquer, white fused, white epoxy and Rilsan (nylon). The different finishes were applied in various ways but the most common one was (and is still used to this day) is applied by a process known as ‘Fluidized Bed’. This produces a very heavy build, perfect finish and was/is used for epoxy and Rilsan (nylon). It’s interesting to note that the Rilsan (nylon) powder which was developed in Italy in the early ‘40s is derived entirely from castor beans and therefore a ‘green’ material. It’s also the most common finish found on white Bertoia chairs.
Colors – Red, yellow, green, blue, brown (plus white and black) polyester or epoxy powders were added to the scope in the 77/78 price list. These were applied by powder-coating.
Plated – Polished chrome has been a standard option since 1956. Satin chrome and gold-plated finishes have been added in recent years.
Though its not clear if any were shipped to customers, one still finds chairs with a white very gloppy, saggy (frankly, ugly) finish usually referred to as the ‘dish drainer’ finish which is just that: the dip-molded finish used on Rubbermaid dish drainers.
By now you’re probably scratching your head wondering what kind of finish is on your white chair. The good news is that it really doesn’t matter… regardless of color. Let’s take a close look at your chair and determine the best corrective action.
Cleaning – It’s about time. If you hadn’t bathed in decades, you’d need a good cleaning, too. Begin with a bucket of hot water and dishwashing liquid (I recommend Dawn detergent) and a medium-stiff dishwashing brush. If that’s not sufficient, move up to dishwasher liquid which is more alkaline. Rinse well and allow to dry thoroughly.
Minor Dings – Chips, scratches and scrapes can usually be touched-up with reasonable success. Begin by scraping or sanding to remove rust. Be sure to keep the sanded area small and blend to a feather edge with the surface of the paint. Clean with alcohol and you’re ready.
Some recommend the use of product called ReRack or Uber Goop, available online or at many hardware stores. This is intended for the repair of dishwasher racks and is only available in white or gray color. Even shaken, it’s lumpy and difficult to apply neatly. The resulting patch is much too soft and rubbery to my liking. I don’t recommend it.
I find a much better alternative to be automotive touch-up paint such as Dupli-Color Scratch Fix. It has an applicator pen and brush and is easy to apply. Don’t forget that it shrinks quite a bit when dry, so it may need two coats. Also, be careful in the color selection as there are a number of whites to choose from and some will match your chair better than others.
Major Issues – Rust, flaking, chipping and peeling are not uncommon, especially on chairs that have been used outdoors for extended periods of time. This requires fully stripping and refinishing. Also, if you find structural issues such as broken wires, failed welds et cetera, stripping is a must.
The stripping process is complicated and chemical strippers rarely work. Usually the finish is baked off in a large oven at around 700 degrees F and then lightly sandblasted. Finally, the base and basket are repainted using either the powder-coat or fluidized bed method. Because powder-coaters are to be found nearly anywhere whereas fluidized bed contractors are few and far between, powder-coaters are probably your only practical choice. A good powder-coater should have numerous powder options: colors, gloss level, high-build, UV-stabilized and so on. Some are more appropriate than others so you should discuss which is the best choice for your application. The good news is that most powder-coaters offer one stop shopping: stripping, bead-blasting and painting in-house. The cost should be around $100 – $125.
STRUCTURAL REPAIR
Anything can break but not everything can be repaired. Fortunately, Bertoia chairs usually can be. Just keep in mind that all repairs require that the chair be stripped first.
Broken Welds – The most common structural problem is broken welds, especially on chairs made in the early ‘50s. Keep in mind that all Bertoia production chairs were welded (more accurately, resistance welded) as opposed to brazed, hard soldered etc. but repairs are best made by brazing, or better yet, silver soldering. Be very careful to whom you entrust this work as most ‘welding shops’ are unlikely to be up to the task. You’ll need a real craftsperson here. You might begin by asking a custom jeweler for recommendations.
Even though the welds were originally resistance welds (‘spot-welds’), don’t let anyone try to persuade you to let them ‘re-weld’ the old ones. I’ve never seen that done successfully. When properly executed, silver soldering should produce a very strong, neat and tidy connection.
Broken Wires – This is by far the most challenging of repairs and there is no set procedure. If a wire is broken, the surrounding area is very often distorted so you’ll need someone who is not only a very good welder or solderer but also has a keen eye for form. End-to-end wire repairs may be best carefully TIG or gas welded. Listen to the opinion of the repair person carefully before making a judgement.
In most cases, the cost of repair – refinishing the basket and base and repairing some broken welds is worth it and can give your chair a new lease on life. If your chair requires major surgery – broken wires, mangled geometry, etc., it may not be worth the cost. Start with the assessment and cleaning and the rest should become clear. Thank you for preserving a piece of the past.
Additional Care & Repair Tips
How to best care for your piece depends on the condition it is in.
Dust & Grime
Unless you have a fragile or delicate piece, gently washing the sculpture will not harm it. Take it outside, turn on your spray hose and rinse it down. Immediately dry the metal thoroughly and completely with a clean cloth. If it is still not clean to your satisfaction, take a dab of mild dish soap (such as Ivory Liquid) and mix with warm water. With an old toothbrush or other soft-bristle brush, lightly scrub your sculpture. Rinse with plain water and dry immediately. Most metal sculptures are fairly robust. Unless you use intense chemicals, you probably won’t hurt it.
Discoloration, Rust, White Spots
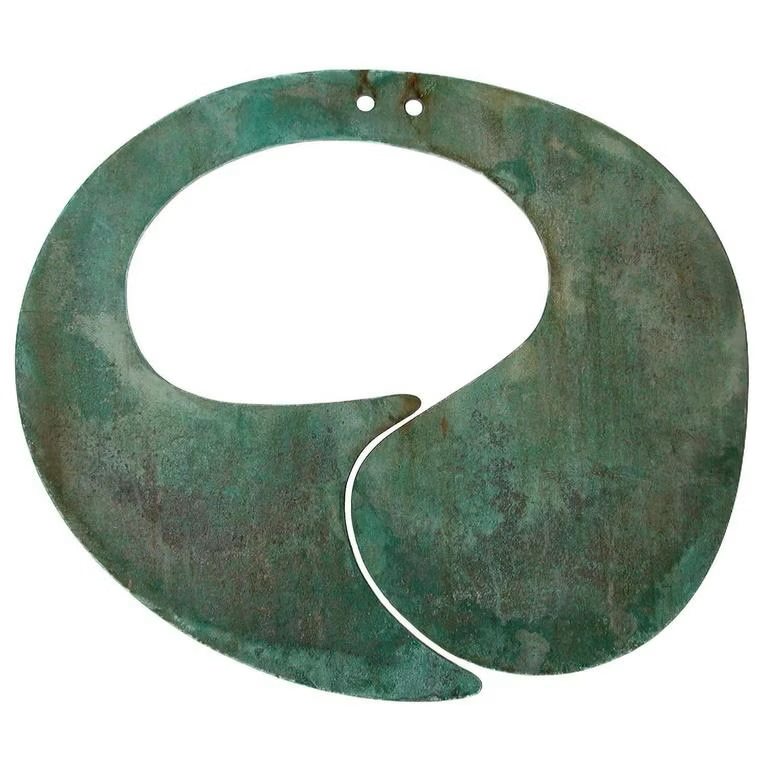
The foundation recommends the cleaning product CLR (Calcium, Lime, Rust) to remove light spots. Follow the instructions on the container. Do not let it sit on the surface for too long as it may begin to eat away at the metal or the patina. Do not use sandpaper or a metal brush – it is too rough and will destroy the surface of the metal. If your sculpture has acquired the green patina of weathered copper or bronze, applying CLR as directed should remove it, if desired.
Non-Patinated Metal
If you have a sounding sculpture that was once shiny and bright but has darkened considerably, you may wish to shine it up again. If you plan to sell it, place it in an exhibition, or display it publicly in the near future, we recommend that you check with your auctioneer or museum director before polishing. The metal polish MAAS (available at MAASinc.com) has worked well for us. Follow the package directions. Make sure you get all the polish off and rub with a soft, clean cloth.
Centennial Table Tonal
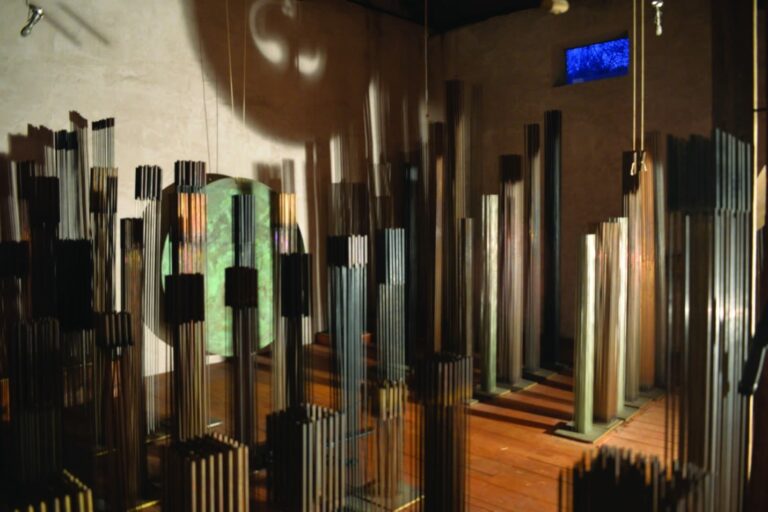
These limited edition sculptures are not patinated and can be polished as desired, as specified above for non-patinated metal. If your piece has collected dust or pet hair between the rods, take a strip of cloth or Q-tip and slide it back and forth until the dust is removed.
Bent Rod
If a rod of a tonal has accidentally been bent out of place, disrupting the orderly placement, you can attempt to bend it back with patience and gentleness. Carefully pull the out-of-place rod(s) in the opposite direction, slightly past the desired original location, until it stays in the right spot. Make sure you don’t mistakenly include a previously straight rod, and do it in small increments. If the rods are too damaged you will need to have a professional repair it.
Professional Repairs
If your art is badly damaged or in need of serious conservation, there is hope. Look for capable metalsmiths or art conservators in your area, or contact the following experienced Bertoia repair sources:
- Flatlander Sculpture in Michigan (FlatlanderSculpture.com)
- Modern Art Conservation in New York (ModernArtConservation.com)
We have found good results working with both companies.
Protection
If desired, microcrystalline Renaissance Wax may be added as a protective coating. Many museums use it. The wax does not collect dust, protects your piece, and also prevents age patination.

